Getting Started: Backcountry Touring
Ready to take the leap from the crowds of the ski resorts to the quiet of the backcountry? Wild Earth Ambassador Kate Donald explains how to transition safely and smoothly.
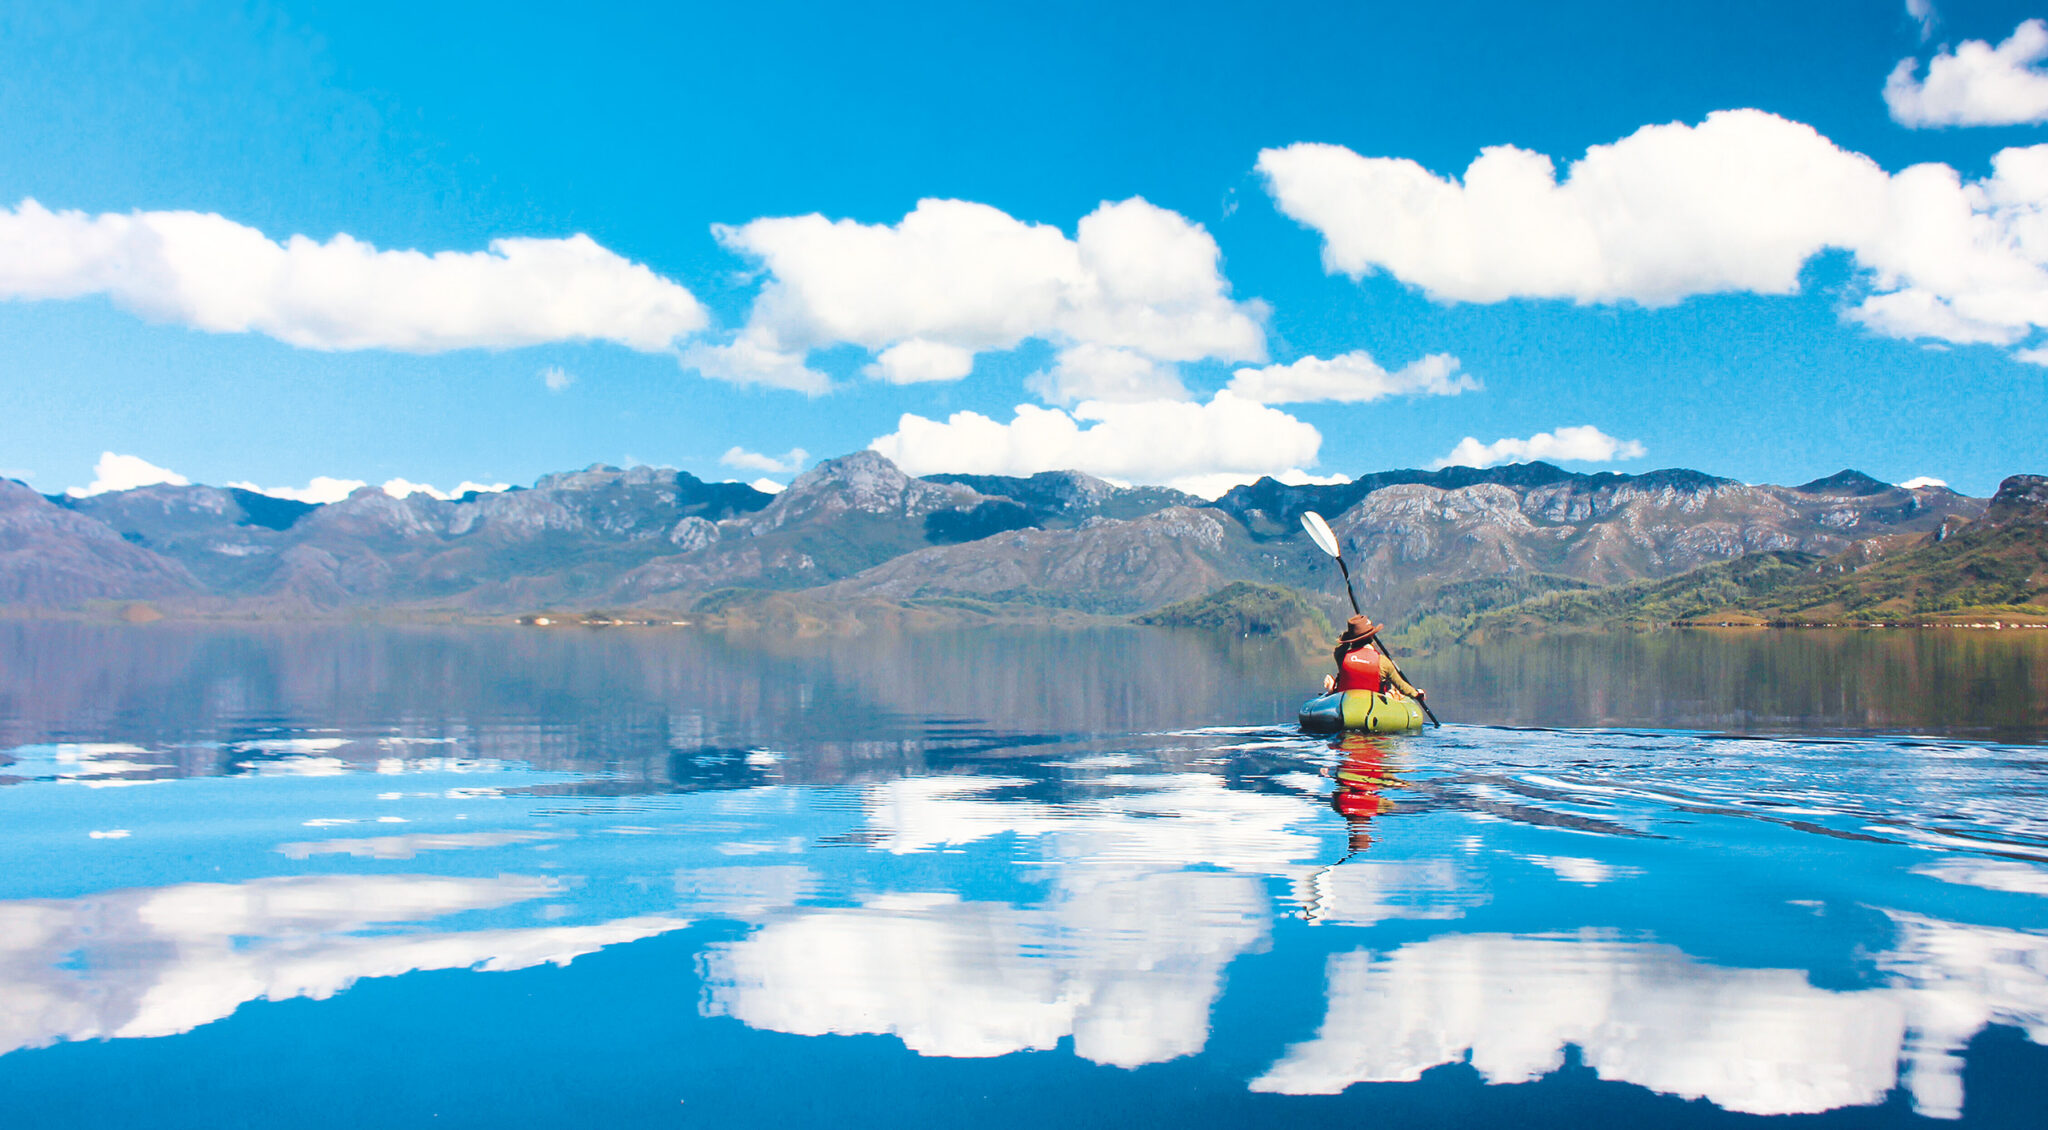
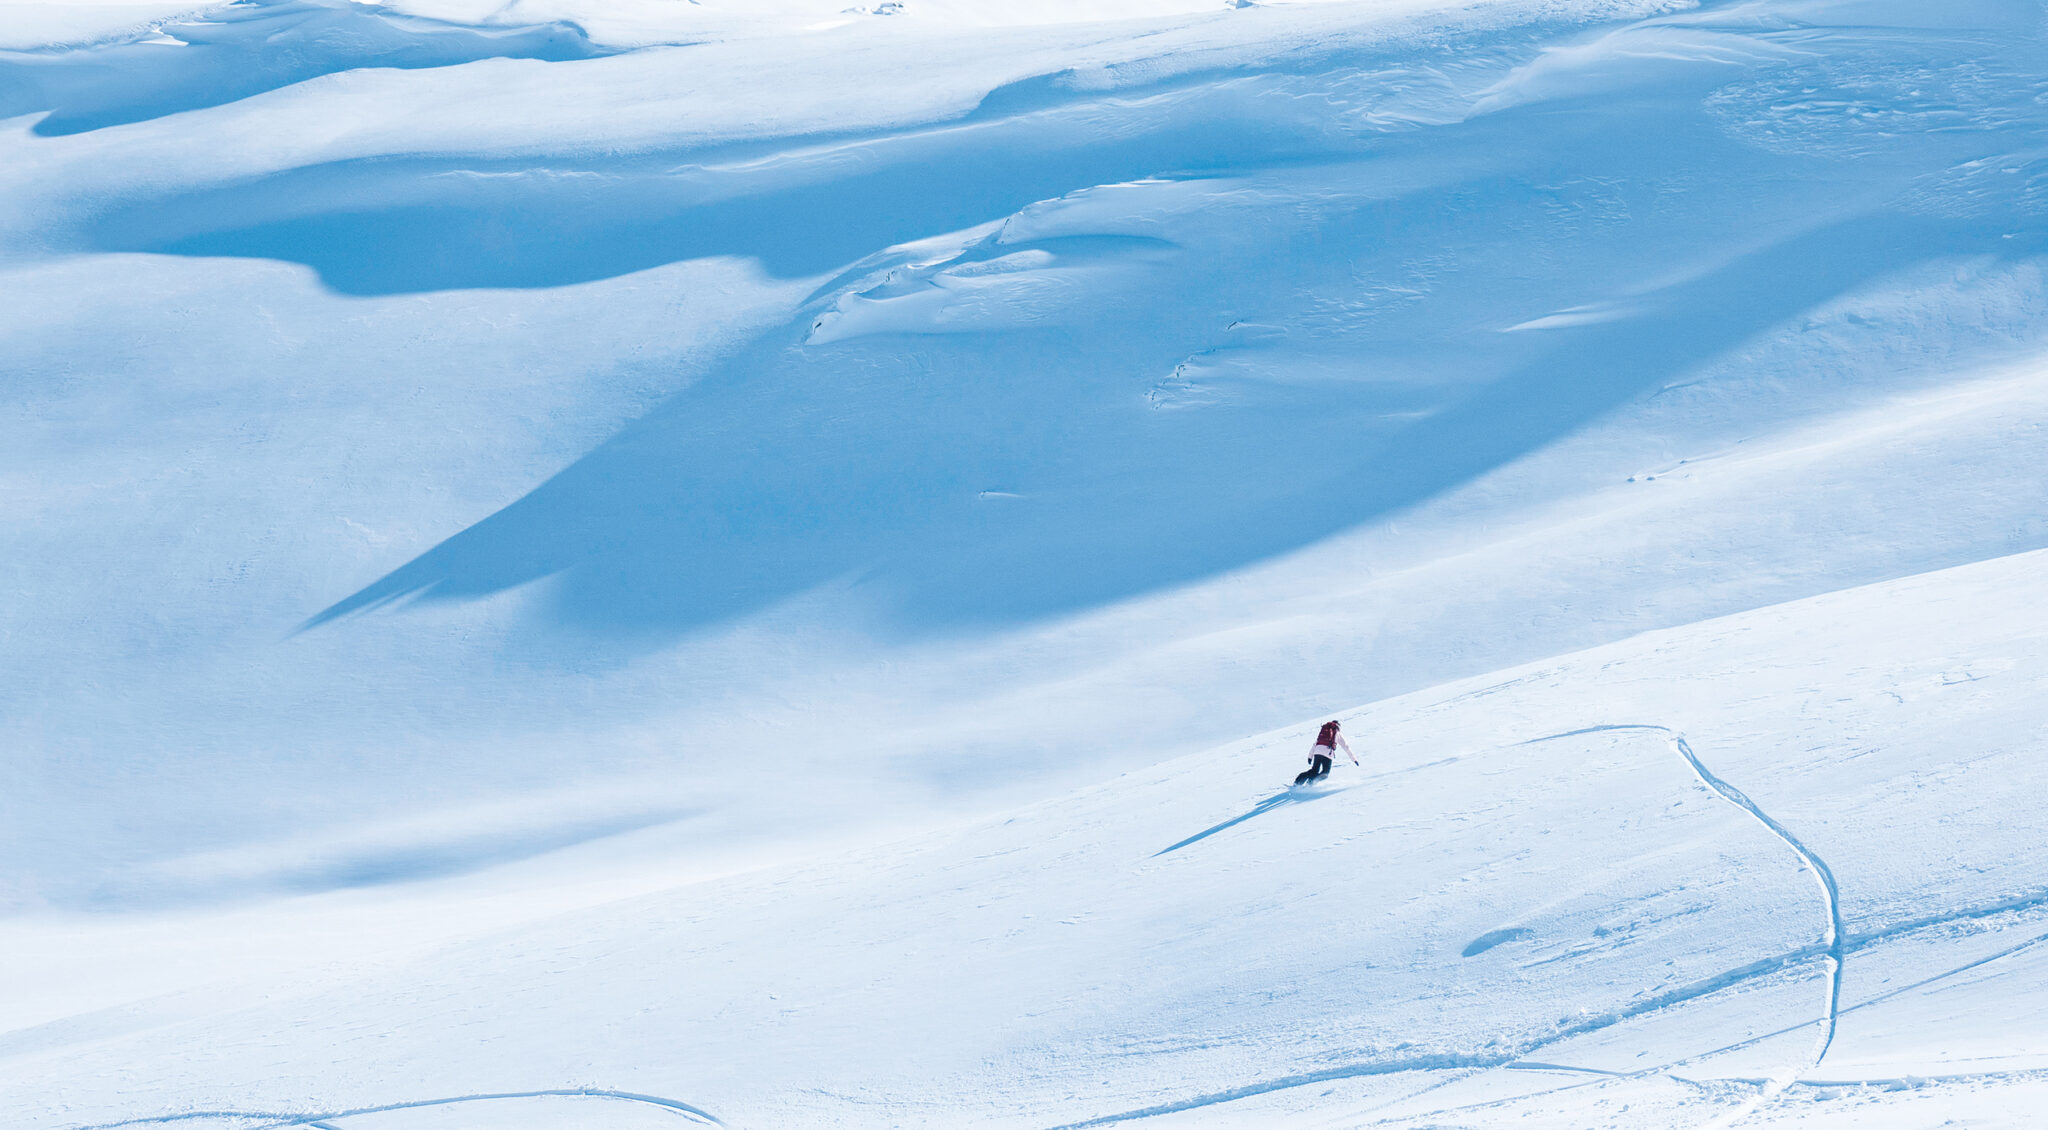
Kate about to drop into Leatherbarrel Creek. Photo credit: Aaron Dickfos
(This piece originally featured in Wild #196, Winter 2025)
It was halfway through a $12 coffee and a painfully slow lift line that I first caught myself staring past the ropes to the untouched, sparkling snow beyond. No crowds. No queues. Just silence and space. That’s when the seed was planted: What if I tried backcountry touring? From there, it became an obsession.
For those ready to take the leap from lift-access to human-powered powder, here’s everything worth knowing: Where to go; what to bring; and all the stuff nobody mentions until you’re halfway up a skin track wondering if this is how it ends.
BEFORE YOU GO
Build Your Skills: The backcountry is beautiful, but unforgiving: Ungroomed snow; hidden hazards; no help for miles. Make sure you can ski or ride confidently in resorts: Can you deal with variable snow conditions, avoid obstacles, etc? If you’re pizza-ing down green runs, hit pause on the backcountry dreams (for now).
Get the Setup: Yes, backcountry gear is expensive. These days, skis/splitboard, boots, bindings, and skins will likely set you back $3k+. I justify it to my partner like this:
- No lift pass
- Good re-sale value
Still, try before you buy. Renting is a great way to figure out if walking uphill in ski boots is your thing (it’s not for everyone). When ready to commit, check Facebook Marketplace or the ‘Australian Backcountry’ group for second-hand deals or wait for those glorious end-of-season sales.
Practice Makes Perfect: Get familiar with gear at home (where it’s warm and cosy). Practise transitioning from walk to ski mode, taking skins off, and fitting boots into bindings. Nothing ruins a trip like fumbling with bindings at -5°C with the skins on backwards. Ask me how I know.
WHAT TO PACK
Safety Gear: Before rattling off a gear list, the real essential is knowing how and when to use it. That’s where a guide will come in handy. They’ll manage the risks and help you learn along the way. If you’re heading out with mates, brush up on first aid, navigation and consider an avalanche course (AST1).
A first aid kit, and beacon/satellite communication is crucial. We always carry a bothy bag (aka emergency shelter); the Vango Storm Shelter is perfect for staying warm and visible in an emergency, but also doubles as a cosy lunch-hut mid-tour.
Layers: Insulated jackets are great for resort laps, but in the backcountry most people opt for shell jackets to avoid sweating on the climb and then freezing on the descent. I wear a lightweight thermal base-layer, mid-layer puffer, and outer shell. Same with gloves: liner, fleece, insulated.
Food & Water: Cold temps make hydration tricky. I use a water bladder to sip from throughout the day—just watch for a frozen hose (insulated sleeves help). For food, to avoid feeling sluggish, I’m all about lots of snacks you can eat on the move, rather than a big meal. Think bars, scroggin, chocolate, charcuterie (or as we call it, skicuterie).
Sun Safety: Snow reflects light, elevation intensifies UV, and cool wind hides sunburn. Reapply sunscreen (SPF 50+) every hour, and don’t forget eye protection. Snow blindness is no joke.
Skeets/Splitboard Crampons: Icy terrain is brutal on any setup, especially splitboards. Skeets and ski crampons have saved me more than once. Skeets are basically metal spikes on a ski-tie—not as sturdy as ski crampons, but lighter, cheaper, and can double as an A-frame backpack strap. I carry both!
GETTING OUT THERE
Finding Touring Buddies: First-timers should seriously consider investing in a guide or going with someone experienced. Facebook groups are handy for finding touring buddies—just don’t end up in the middle of Alaska with someone who lied about their skills to impress you (true story).
Morning Routine: Check the conditions before leaving the house. I start with resort cams to see what it looks like, then weather reports for high winds or incoming snow. Finally, I check the Mountain Safety Collective (MSC) site for daily alpine-condition reports. mountainsafetycollective.org
Where to Go: If you’re confident going unguided, MSC maps are the best way to learn local terrain—skiable bowls, named lines, and areas to avoid.
Don’t Burn Out: Touring hits muscles you didn’t know existed. If there’s nothing left in the tank at the summit, the ride down won’t be fun, nor will the way out. Leave a little in reserve.
Respect the Skin Track: If there’s a skin track, use it. It’s easier for you, and keeps more untouched pow for everyone else.
Start small, stay safe, and most importantly—don’t forget why you’re out there. The silence, the untouched turns, the hot coffee from the stove as the snow falls around you. Just promise to leave a few fresh lines for me!
If you liked this piece, you should subscribe to the print mag. Only a fraction of the great stories we run in the mag make it to our website; if you want to read them, head to subscribe.wild.com.au